Aiseesoft Screen Recorder
![]() 100% Seguro. Sin anuncios.
100% Seguro. Sin anuncios.
![]() 100% Seguro. Sin anuncios.
100% Seguro. Sin anuncios.
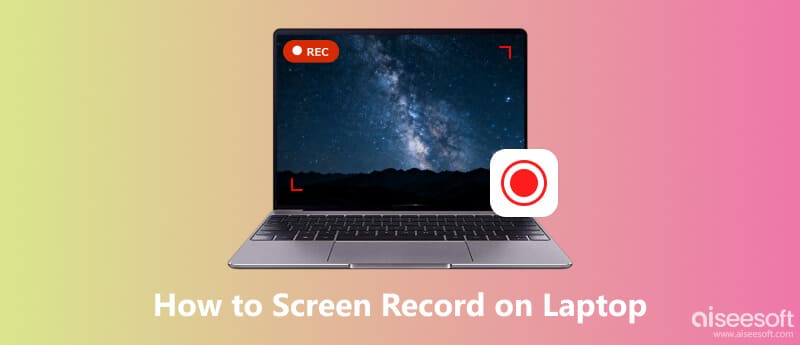
For different practical and creative purposes, you need to record your device’s screen. Screen recording is a good and direct way to capture, share, or preserve digital information that might be difficult to document in other ways.
Conocer how to screen record on a laptop is an essential digital skill across learning, work, and daily life.
Whether you want to record an online meeting, capture a funny gameplay moment, or create a software tutorial, you should make high-quality recordings first. This comprehensive guide shares eight major methods to record your laptop screen, including free built-in tools, a default player with recording features, and powerful third-party software.
In most cases, you don’t just need to capture the laptop screen. You want to record all content displayed on your computer, which often includes the screen, audio, and even webcam.
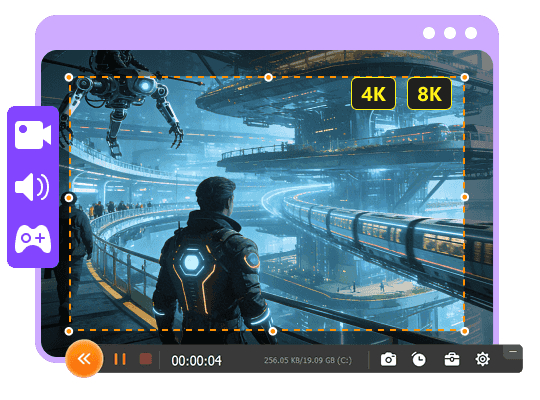
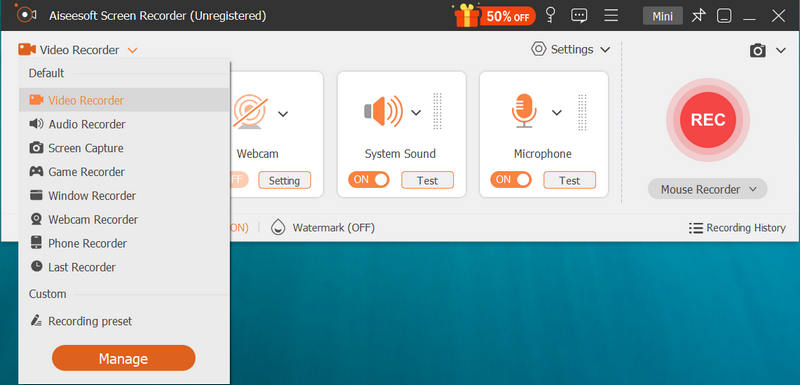
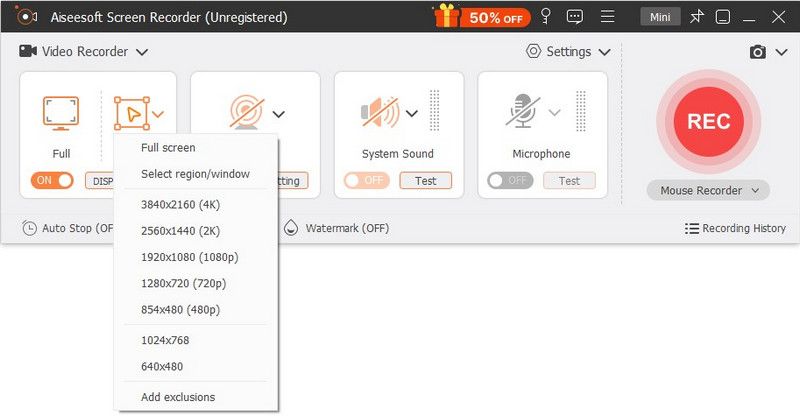
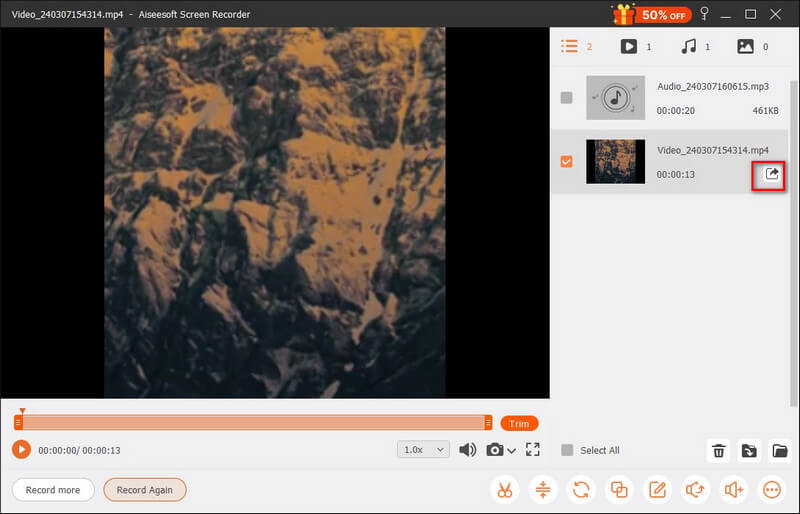
If you are seeking a powerful, all-in-one recorder that can handle various capture tasks, dedicated third-party software like Aiseesoft Screen Recorder proves to be a great choice. It is available for Windows and Mac users who need stable and high-quality recordings.
Descarga
![]() 100% Seguro. Sin anuncios.
100% Seguro. Sin anuncios.
![]() 100% Seguro. Sin anuncios.
100% Seguro. Sin anuncios.
Aiseesoft Screen Recorder is specially designed for easy and quick recording. That is ideal for most users who want to easily capture their screen with high quality and desired format, including content creators, gamers, educators, professionals, and most general users. It offers a simple solution to product tutorial videos, presentation recordings, gaming victory moments, and more.
If you are using a Windows laptop like HP, Dell, Acer, ASUS, Lenovo, or MSI and want to capture its screen, you can rely on its built-in, free methods.
Barra de juegos de Xbox is pre-installed on Windows 10 and 11 laptops. It is a gaming overlay with a screen recorder and other useful widgets. It is ideal for quick captures, mainly for recording gameplay clips. This built-in Windows laptop recorder requires no setup.
Mejor para: Game Bar is ideal for most Windows users, mainly gamers, to quickly capture gameplay clips.
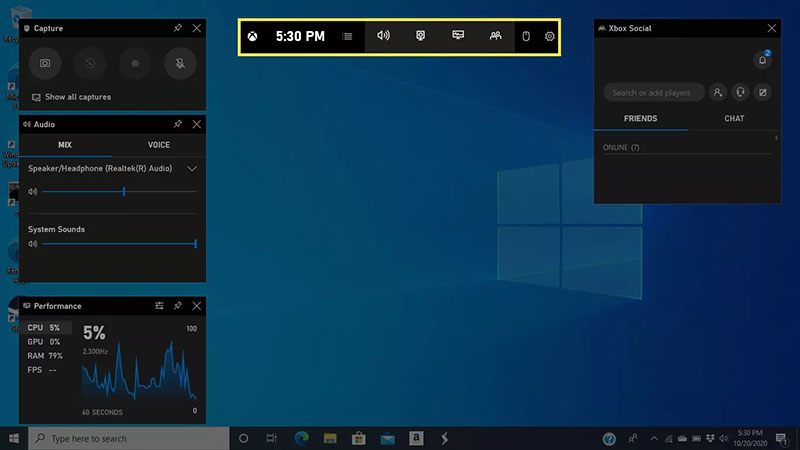
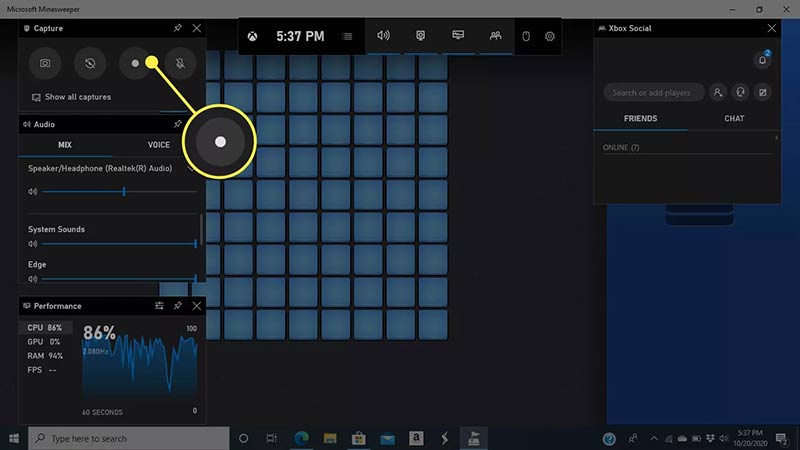

As you can see, Xbox Game Bar does not capture your voice from the microphone by default. If you need to record microphone sound, you should turn on the microphone in the Audio widget of the Game Bar before recording. What’s more, you can access the Configuración panel by clicking the Equipo icon. Customize various recording settings based on your specific needs.
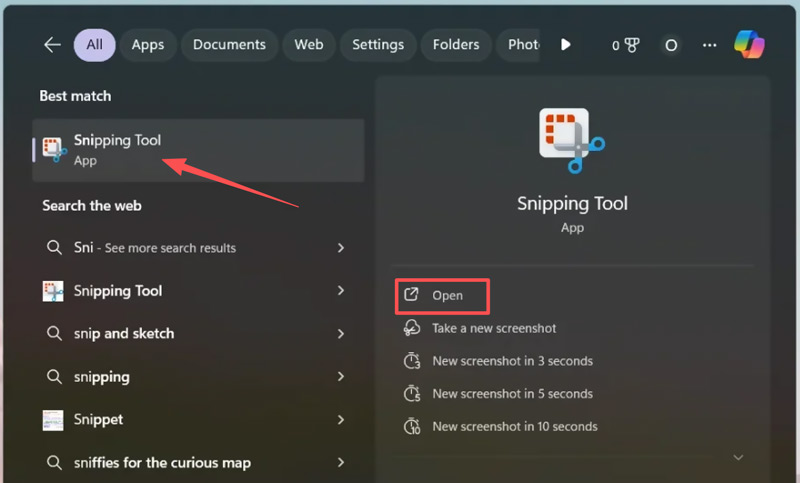
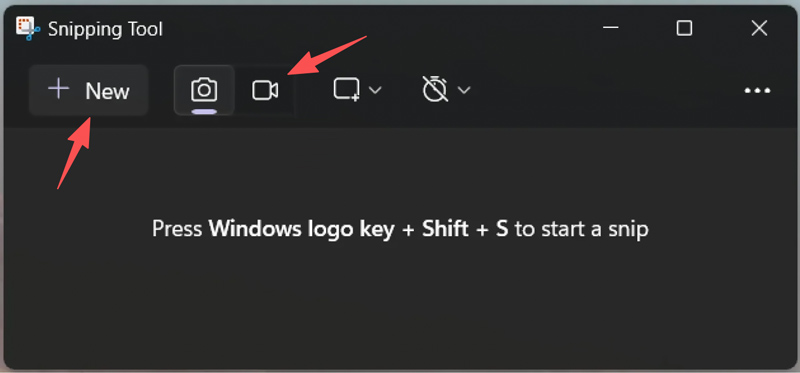
If your laptop runs Windows 11, you can use the built-in Snipping Tool to capture your computer screen with ease. This screenshot tool is updated in Windows 11 to have basic screen recording functionality.
Mejor para: Recording a specific window or area on a Windows 11 laptop and exporting short clips.
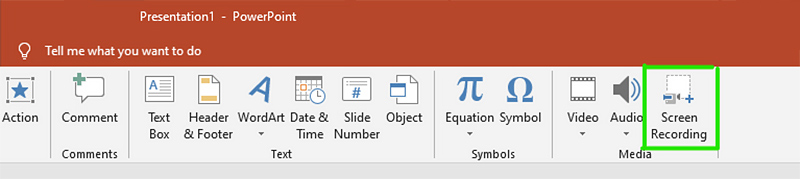
If you use a relatively newer version of microsoft PowerPoint (like PowerPoint 2016 or later), you can use its built-in screen recording feature to capture your computer screen and then insert recordings directly into your slides. This recorder tool is integrated seamlessly into PowerPoint for making a presentation.
Mejor para: Creating instructional videos or adding personal narration. It is ideal to capture the screen and directly embed the recorded clips into a PowerPoint presentation.


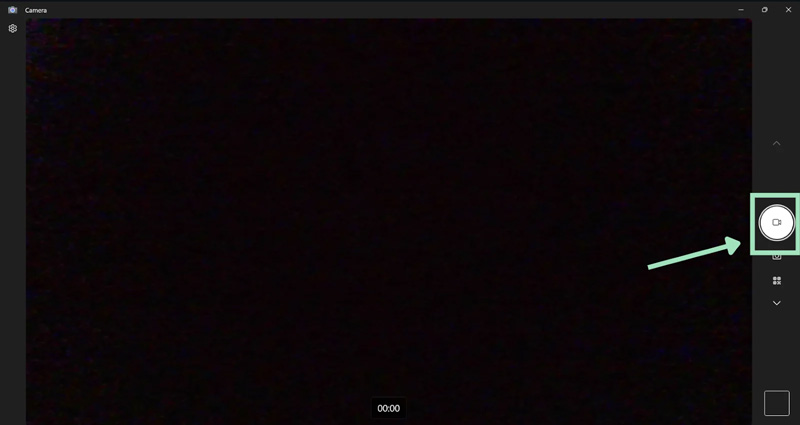
To quickly capture your webcam feed, you can use the Cámara app in Windows. The built-in tool is mainly designed for photos and videos. It can help you make pure webcam recordings without screen capture.
Mejor para: Recording a webcam video or making a vlog-style clip directly on your laptop.
As a Mac user, when you need to capture the screen, you can rely on both its built-in screen recording tools and third-party recorders.
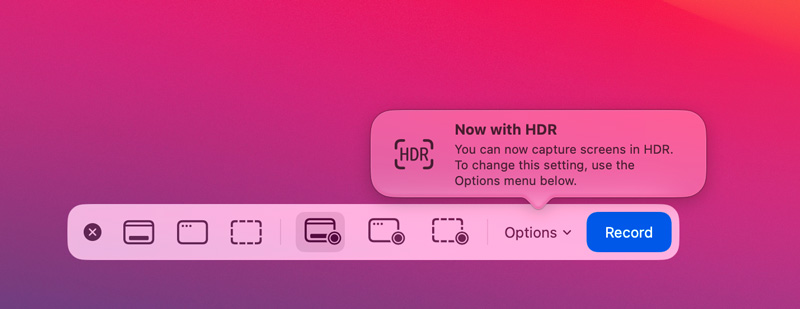
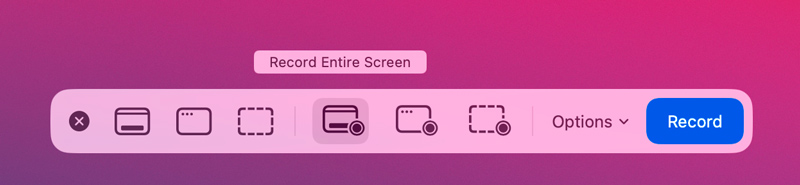
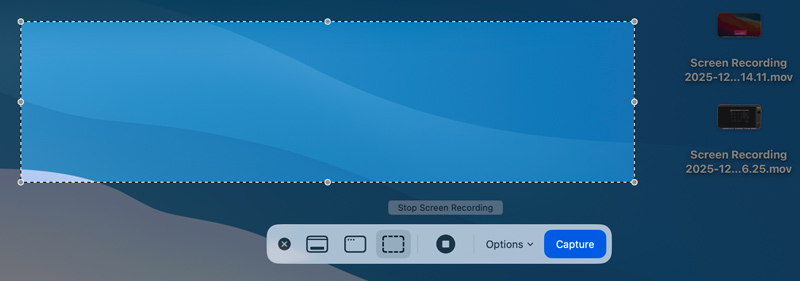
MacOS has a built-in Barra de herramientas de captura de pantalla for users to quickly start screen recordings via a keyboard shortcut. It offers several options for quick screenshots and video recordings.
Mejor para: Using the Screenshot Toolbar to screen record is the recommended way for most Mac users. It can be the easiest way to record the full Mac screen or a selected region without opening any apps.

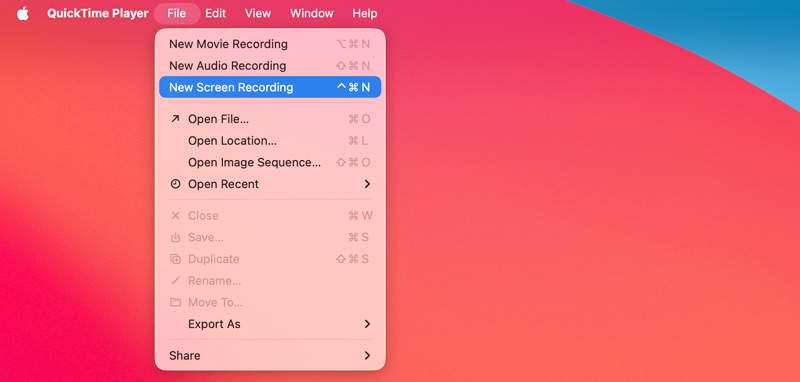
QuickTime Player is pre-installed on every Mac to handle various media file playing tasks. It also has excellent screen recording capabilities.
Mejor para: Mejor para: Stable screen recordings on Mac, especially for users who need microphone narration.
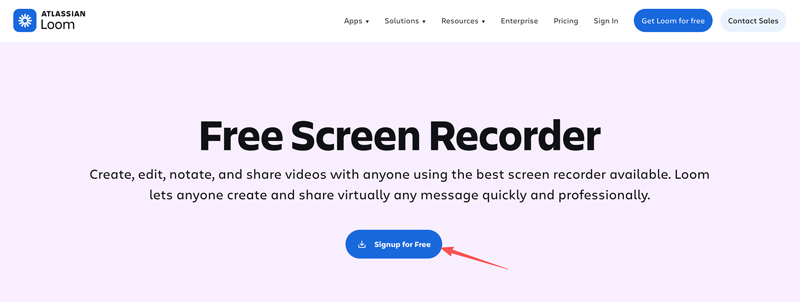
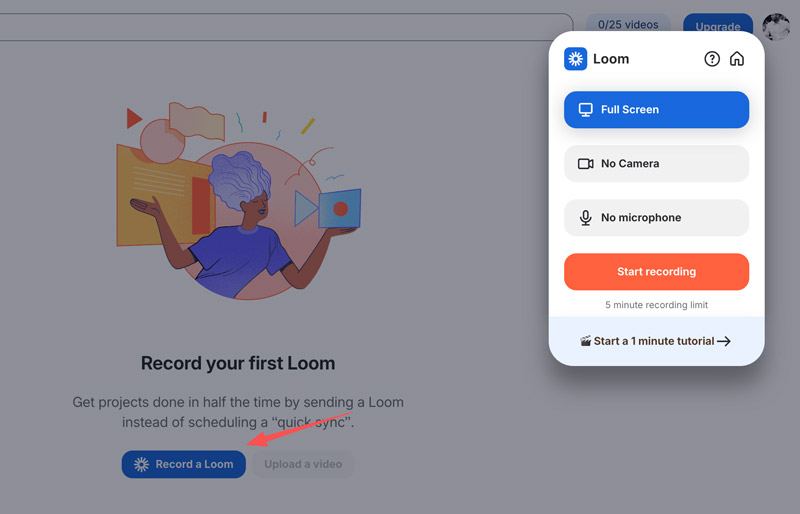
cuerda natural is a popular cloud-based recorder that lets you record your computer screen, voice, system audio, and webcam in high-quality up to 4K. It carries basic editing features to trim and combine your recordings.
Mejor para: Recording screen and voice to create shareable tutorials and give feedback.
Besides Loom, there are many other similar recorders available for you to record your Mac screen, such as ScreenRec, ScreenPal, and Cap. These screen recorders offer a straightforward way to quickly start recording on your Mac or Windows laptop. However, they also come with various limitations that require you to upgrade.
Question 1. Does Windows 10 allow screen recording with sound?
Yes, Windows 10 has built-in screen recording tools and functions that can capture sound. As mentioned above, you can directly record your screen with audio using Xbox Game Bar.
Question 2. What is the best free screen recorder for Windows 11?
You should select the best recorder based on your specific needs. Start with the built-in Game Bar and test if it can fit your screen recording needs. Also, the built-in Snipping Tool in Windows provides a fast, straightforward way to capture a clip. If you often capture your computer screen and want to create serious content, OBS Studio is a good choice.
Question 3. Does Mac allow system audio recording?
The built-in screen recording tools in macOS don’t allow system audio recording. They can only capture sound from the microphone. To capture internal audio, you must rely on a third-party recording app like Aiseesoft Screen Recorder.
Conclusión
With this guide, you can learn all the necessary information to screen record on a laptop. Whether you want to capture a screen on a Windows PC or a MacBook, you can easily find suitable recorders and instructions to do that. All the recommended screen recording tools are available to use for free. Start with your preferred one to record with ease.
 Los 9 mejores grabadores de pantalla para PC [Lista completa de 2026]
Esta lista explora los 9 mejores programas de grabación de pantalla para Windows 10/11. Características, ventajas y desventajas, calidad de grabación, etc. ¡Aquí encontrarás todo lo que necesitas saber!
 Una revisión detallada de los 8 mejores grabadores de pantalla sin demoras
¿Hacer siempre grabaciones de pantalla con retraso? No te preocupes. Aquí probamos 8 grabadores de pantalla sin demoras y hacemos esta revisión con datos. Puedes elegir uno que te guste.
 Revisión completa sobre qué es OBS Screen Recorder y las mejores alternativas
Libere todo el potencial de OBS Screen Recorder con nuestra guía de uso y revisión paso a paso. Comience a grabar hoy mismo sin esfuerzo y de manera eficiente para la creación de contenido profesional.
Aiseesoft Screen Recorder es el mejor software de grabación de pantalla para capturar cualquier actividad como videos en línea, llamadas de cámara web, juegos en Windows/Mac.
![]() 100% Seguro. Sin anuncios.
100% Seguro. Sin anuncios.
![]() 100% Seguro. Sin anuncios.
100% Seguro. Sin anuncios.
*Campo requerido
*Por favor ingrese un correo electrónico válido